What Is Soldering: A Complete Guide for Beginners
December 6, 2021
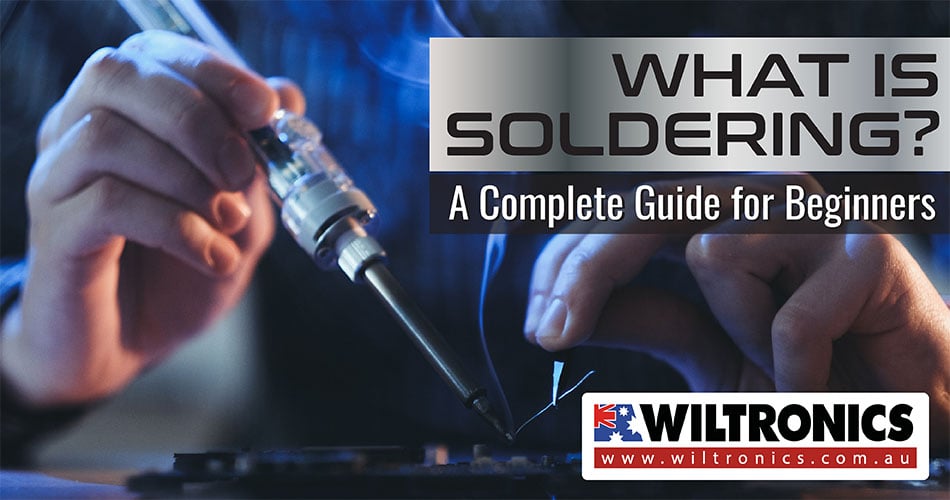
Here is your introductory guide to ‘what is soldering’ and how to use a soldering iron!
Soldering is a valuable skill to have. It is one of the most important to master in electronics and requires practice.
Be it for DIY projects or professional use; good soldering skill is pivotal to your success. But to acquire this, you need a quality soldering iron.
This post will provide a brief overview of essential soldering-related topics. Here, you will also learn the basics that apply to most soldering work to ensure a safe and effective outcome at your workbench.
What Is Soldering?
Soldering is a technique for joining metal parts together. It involves melting a metal known as solder into the space between two metal components.
Solder is a metal alloy commonly made of tin and lead, which is melted using a hot iron. When it cools and hardens, it forms a permanent connection between the parts. Moreover, it acts as a sort of metallic glue, joining electronic components together.
Your most basic soldering tool is a soldering iron paired with a soldering iron stand or soldering station.
Note: Solder is heated up to temperatures beyond its melting point and around 600°F, causing it to melt.
What Is a Soldering Iron?
A soldering iron is a hand-held tool and the primary piece used in soldering. The tip of its iron makes heating metal alloy or solder simpler.
The tip is what you apply to the metal parts you want to solder together. The tool also consists of an insulated handle that provides a convenient grip to hold the iron. This helps the operator to manipulate the device around small or delicate components accurately.
There are several variations of soldering irons. Often, they are electrical and use an electrical cord or battery. Some even use butane or an open flame.
Regardless of their power type, it is key to delivering their heat electrically. Some irons allow you to adjust the temperature of the iron.
How does it work?
A soldering iron supplies high temperatures above the melting point of a metal alloy. This allows for the solder to flow between the workpieces needing to be joined.
Once bonded, the solder is then left to cool and harden. The process creates a fixed and conductive join that remains permanent until reheated again. This process of reheating and separating a previously soldered joint is called desoldering.
What is a solder?
As mentioned, solder is a metal alloy used to create permanent solid bonds. A great example of this is copper joining in circuit boards and copper pipe joints.
It comes in two different types and diameters: lead and lead-free, and also can be between .032” and .062”.
What is a Soldering Iron Used for?
There is a large number of things a soldering iron can be used for. From building, fixing to augmenting and disassembling, it is proven to be a handy tool. This includes joining wires, soldering printed circuit boards, stained glass, and jewellery.
It is incredibly versatile in that it can be used not only for connecting components together but also disconnecting. It is categorised under two core functions: soldering and desoldering.
Note: A desoldering pump (solder sucker) is also an important part of your setup. It is a manually-operated device used to remove solder from a printed circuit board. The pump is applied to a heated solder connection, then operated to suck the solder away.
What metals are used?
Filler metals used in soldering were once lead-based. But owing to regulations, lead-based solders are increasingly replaced with lead-free ones. The latter consist of antimony, bismuth, brass, copper, indium, tin or silver.
Lead-free solder has a higher melting point than lead-based, with 2170C, while the latter has 1830C. The higher temperature of lead-free soldering oxidised the solder faster, unlike lead soldering with a lower temperature.
What Is Flux in Soldering?
Although soldering does the job of joining metals together, having a chemical cleaning agent like flux can help do the job more effectively.
There are times when the joint site has impurities, such as oil, dirt or oxidation. This is where flux comes in handy; it helps prevent oxidation and clean the metal.
Flux is a chemical agent used before and during the soldering process. It can be likened to paint primer for your solder connection.
Applying flux is an inexpensive method to improve soldering joints. But its main purpose is to prime the metal surfaces for soldering by cleaning and removing any oxides and impurities. It accomplishes three things:
- Reduces oxidation
- Improves electrical contact
- Alters the surface tension of the molten solder
Rosin flux, for one, helps the mechanical strength and electrical contact of electrical joints. A wetting agent is also used to reduce surface tension. A solder flux pen is also available—as the name suggests, it is a flux in a pen.
To know more about flux, read our ‘What is Flux in Soldering?’ article next!
Different Types of Soldering
There are three types of soldering which use different temperature levels. The higher the temperature is, the better it produces stronger joints.
1. Soft soldering (90°C – 450°C)
This process has the lowest filler metal melting point of all the soldering types at less than 400°C. The filler metals are usually alloys, often containing lead with liquids temperatures under 350°C.
Due to the low temperature used in soft soldering, it thermally stresses the components the least but does not make strong joints. Therefore, it is not suitable for mechanical load-bearing applications. It is also unsuitable for high-temperature use as it tends to melt.
2. Hard (silver) soldering (>450 °C)
Brass or silver is the bonding metal used in this process. Hard soldering requires a blowtorch to achieve the temperatures needed.
3. Brazing (>450 °C)
This type uses metal with a much higher melting point than hard and soft soldering. Yet, similarly to hard soldering, the metal being bonded is heated as opposed to being melted.
Once both the materials are heated, the soldering metal is placed between them, which melts and acts as a bonding agent.
How To Use a Soldering Iron?
Before you begin using your iron, there are necessary precautions you need to keep in mind.
Things to consider
1. Safety measures
Soldering involves extreme heat and toxic substances. Thus, health and safety should always be your top priority when performing this task. If you take the proper precautions, it is a relatively safe activity, and there is nothing to worry about.
Read the instructions and the health and safety warning that comes with your equipment before getting started. This will help ensure you are using it correctly.
Wearing safety glasses and gloves are also a must, including keeping hair, loose clothing and jewellery out of the way of your tools.
You also want to make sure you are working in a well-ventilated area. The fumes from flux tend to be toxic. And if the solder you are using contains lead, wash your hands after working with it.
2. Cleaning and tinning
A cleaned and tinned iron tip is key to working with an effective soldering iron. Keep in mind that any contaminants or oxidation will decrease the efficiency of your tool.
In such cases, it conducts heat which makes the job harder, at the same time reducing the quality of your solder joints.
Clean the tip of your iron by rubbing it against your cleaning pad before getting started. If the tip is oxidised, we recommend applying a tip reactivator.
After cleaning or reactivating it, it should appear shiny rather than dull. This practice also helps protect the tip from oxidation and improves its ability to conduct heat.
Tip: Clean and tin the tip of your iron after every two or three joints you solder, including at the end of each soldering project. Not only does this extend the life of your iron tips, but it improves the quality of your soldering joints as well.
Joining parts
Soldering techniques vary from project to project. Listed below are the basic instructions, ideal for beginners.
- First, determine the right temperature for your project. This will depend on the materials you are putting together and the kind of soldering iron you are using. Generally, the best temperature to use is as low as possible while still high enough to get the job done. In other words, if the temperature needed to do the job is 370 degrees or above, then set it exactly to 370. This will help extend the life of your solder and avoid damaging any electronic components.
- Wait for the iron to be heated to the right temperature. Then, pick it up by the handle in one hand and hold a piece of solder in the other hand. Hold the hot iron to the place where the two metal components will be joined together. Heat the metal parts, not the solder itself.
- Next, touch the solder to the heated components with the iron. As the solder melts, it will flow into the gaps it needs to fill. Continue to feed in solder until enough is dissolved. This typically won’t take more than a few seconds. And while you need enough to form a solid connection, do not have too much solder either. The ideal amount still varies from project to project.
- Let the solder cool on its own, and it should not take longer than a minute.
- Check the joint for quality. A good connection will appear smooth, uniform and shiny. Make sure there are no problematic gaps between the components or globs of excess solder.
Desoldering
Do not fret if you made a mistake. You can undo and fix any problem areas without difficulty. For one, if the problem is not excess solder, you may resolve the first joints with new solder.
But the standard method of desoldering is to reheat the solder you applied and use a tool like a desoldering pump (solder sucker). It is a small tool that uses vacuum pressure to remove solder. Desoldering braid (solder wick) also can do the job; it absorbs melted solder through capillary action.
Cleaning up
After you finish a soldering session, clean and tin your iron tip. Then, let the iron cool and store it in a secure location. To prevent oxidation, especially if you will not be using the iron for a long time, place it in a sealed container.
Putting It Up Together
Knowing exactly how and when to use a soldering iron for the best possible results is something that professionals continue to work on. Learning the proper techniques also demands a significant level of finesse and experience.
Our beginner’s guide is a good starting point. We hope this has helped you get started with your soldering journey!
If you are still on the hunt for the perfect soldering iron and equipment, shop our soldering range here. From irons, solder and equipment to stands, stations and fume extractors—you will find everything you need there!
© Electrotech Brands Pty Ltd 2021
Write a Comment
You must be logged in to post a comment.